Are you looking to join the masses of backyard poultry? If yes, you must have already been searching how to build a chicken coop with a run? Building a DIY chicken coop with a chicken run is one great weekend project for any DIYer who likes doing things by themselves! If you have even a little bit of control and interest in basic carpentry skills, you can totally nail making this DIY chicken coop. If like me, you would also like to raise chickens on your own, you need to provide them a well-sheltered place with the right amount of cozy incorporated in the design.
I actually started this chicken coop project as just a sketch designed on a piece of paper. However, what began merely as a sketch then took the next level and transformed it into a real and highly functional chicken coop, and chicken run. Which, by the way, turned out to be pretty sturdy and did not fall into pieces or crumbled on the ground. I firmly believe that practice makes perfect! So, when I look back now, I feel if I were making this chicken coop now, I would take half the time then I took the first time. I had a few things in my mind to build this chicken coop or let’s call them the characteristics that I wanted my chicken coop to have. So, let me share with you my checklist:
The Perfect Traits of A DIY Chicken Coop
- It had to be aesthetically appealing and perfect, so bad odors and flies could stay as much away as possible!
- It had to be predator-free and ultimately secured, so even when I am not around. My girls could easily roam about, and I didn’t have to carry the fear of predators or trespassers with me!
- I was looking to build something with a perfect and classy ventilations system! So, it would also stay cool in summers, and the ventilation would bring down the odors to a minimal level.
- Drainage had to be flawless, too, so keeping the chicken coop or changing the pine shelves, washing it from the inside, and hosing down the water easily!
- The construction materials had to be easy to handle that I could work around them without any fear of failing!
Last but not least, I wanted to build something pretty sturdy!
Now, let me share with you the list of materials that I used:
Materials:
- Cedar boards
- Chicken wire
- Hardware cloth
- Pine shavings
- Waterer from Home Depot
- Nipples for the waterer (that I got from Amazon)
- Peel and stick tiles
- Bucket for Feeder
- Door Hinge
- Boards for putting inside the coop
- Paint
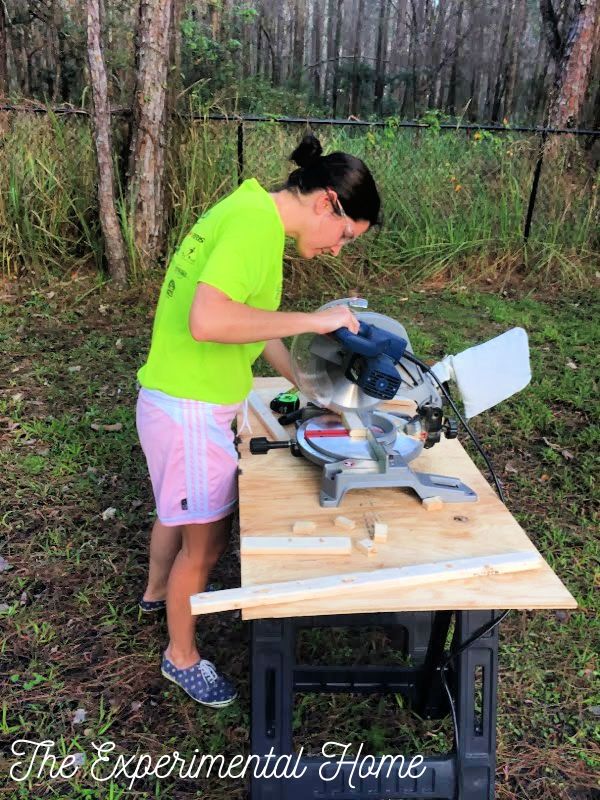
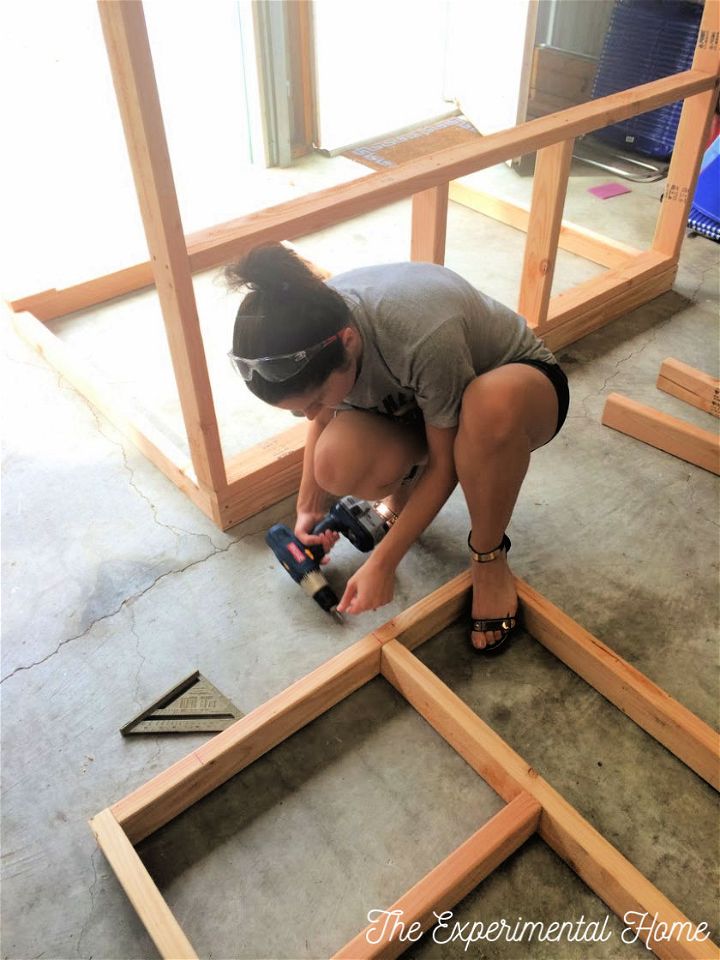
Building steps:
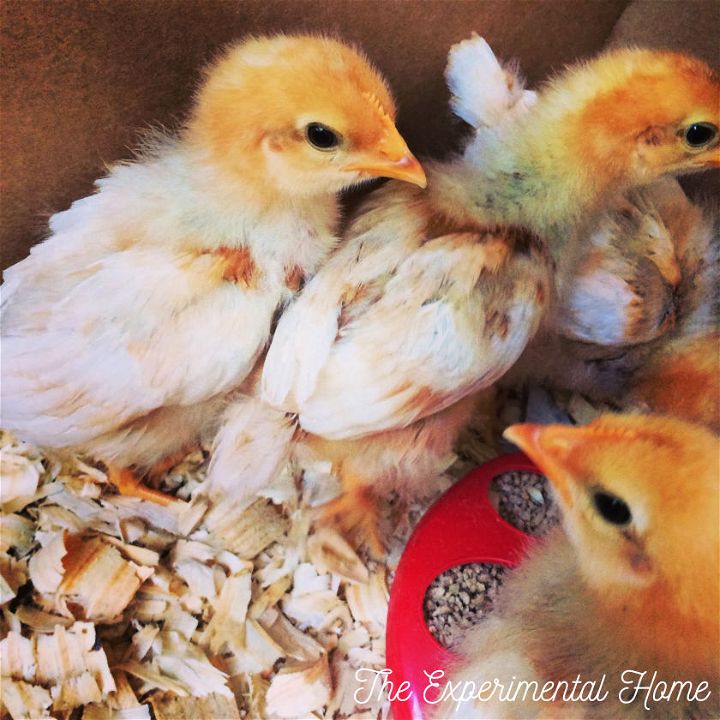
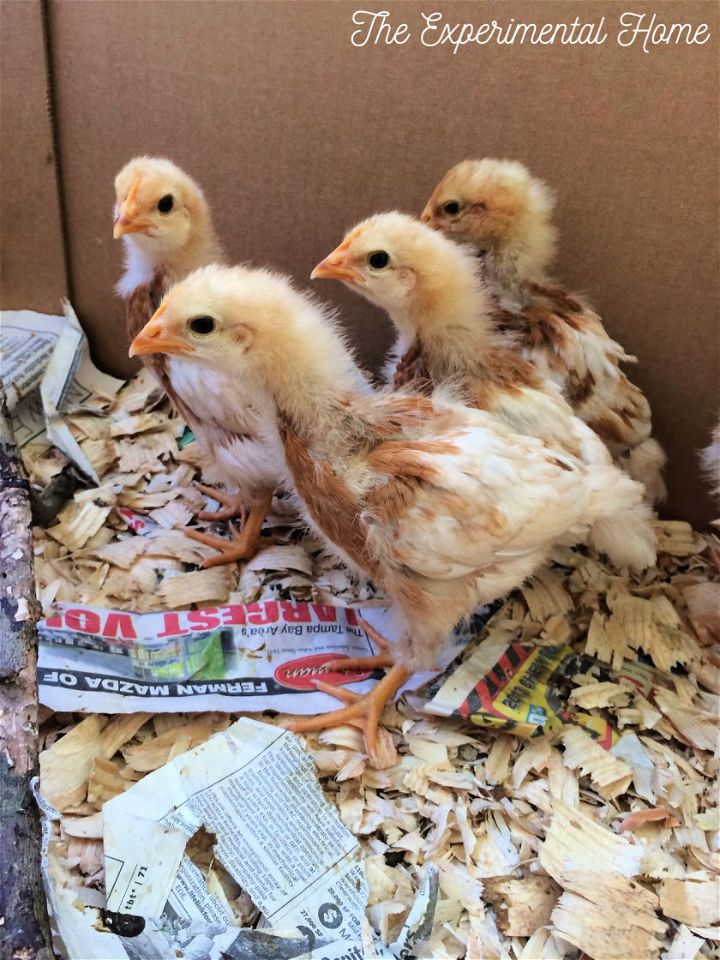
Although, I strongly believe that with all my effort on weekend-long hours and everything, I have built this thing to be damn sturdy and strong. But, I would still not show off and not confess the fact that it all came together with oh what I must say to emphasize on it Lots and Lots of guessing and so much of trial and error! *phew* Without any more talk, let me show you my girls, which I am sure are living their best lives, which is quite evident by the layers of eggs that I have been collecting from them. Woohoo!
Step 1: Making it predator Free
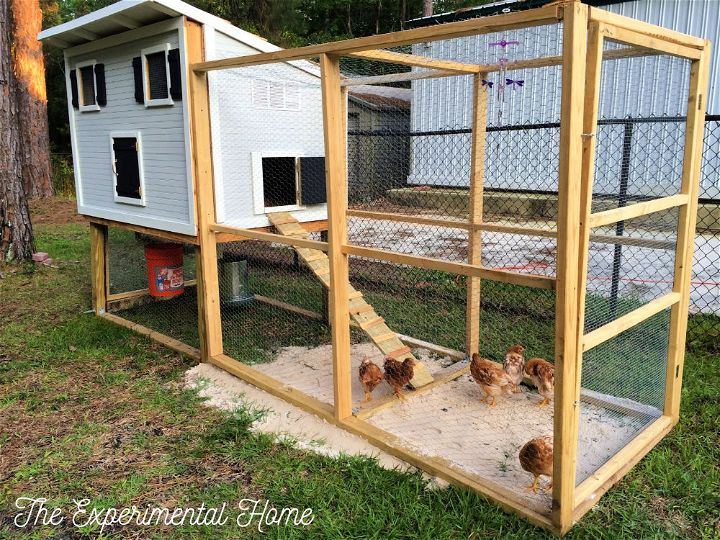
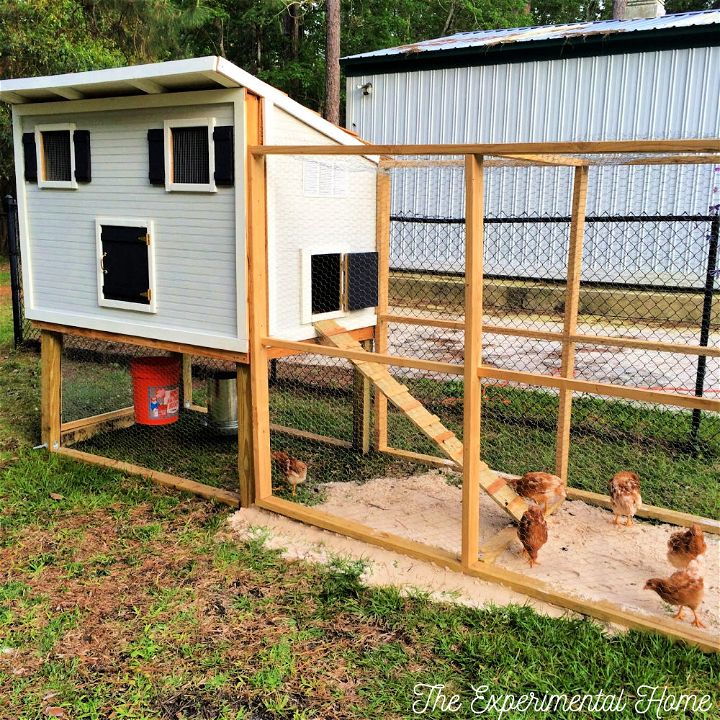
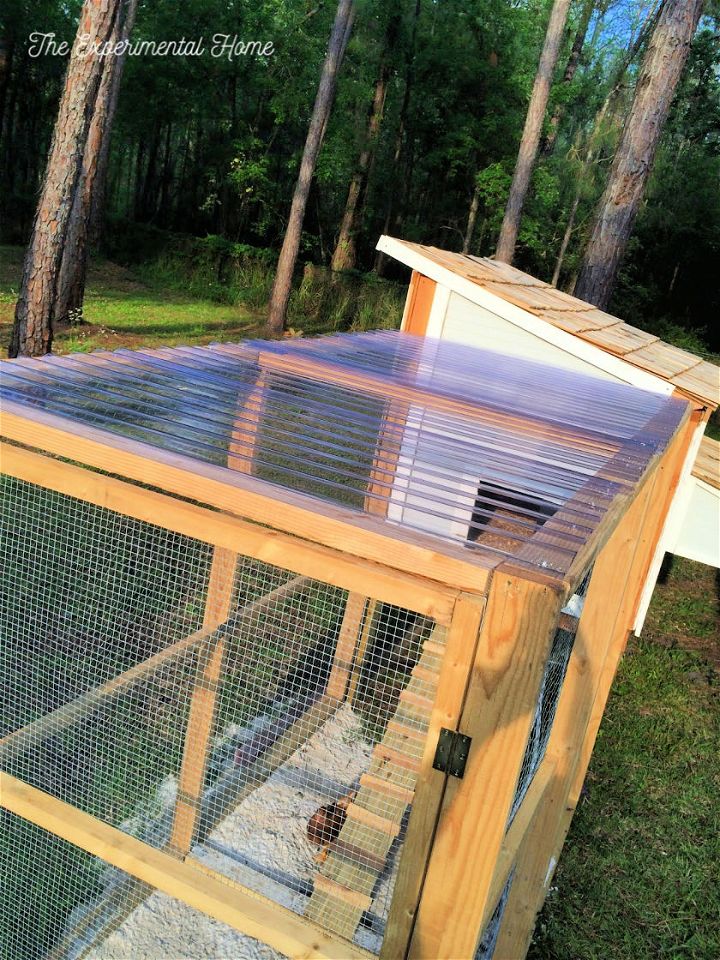
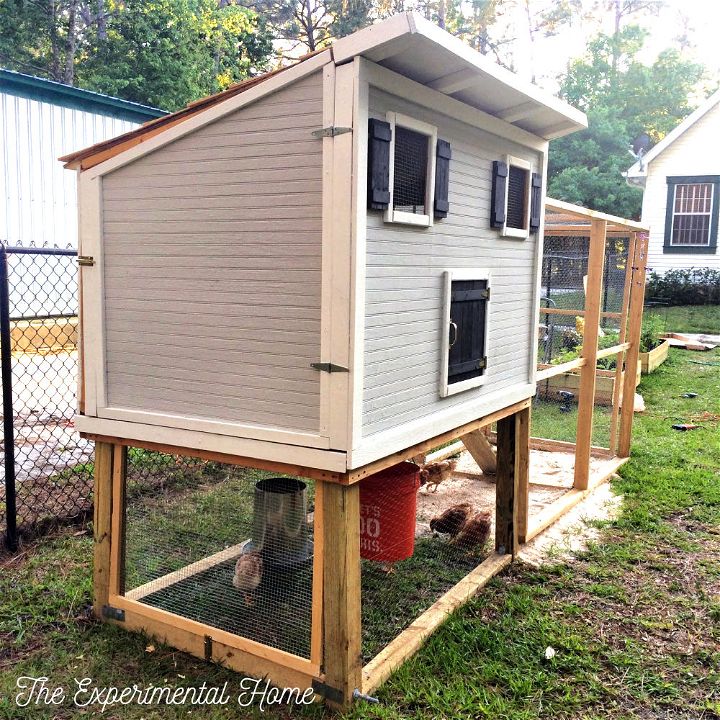
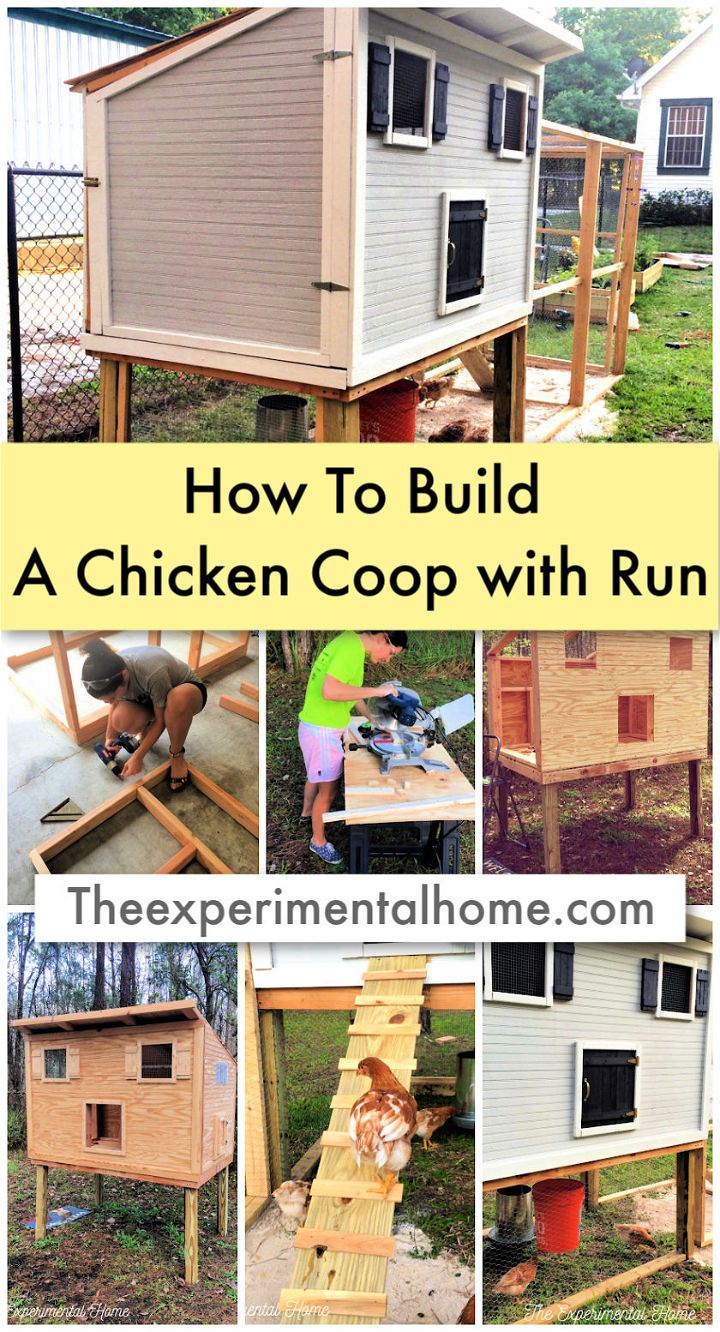
To start off, let me show you as many pictures as I could get, so you can see what I actually built and why do I love it so much! Anyway, so this chicken run is attached with the chicken coop, and it gives my feathered fellows quite the space to roam around freely! And it keeps my worry-free from the predators! So, even when I am not home, I easily let my girls out because I have no predators or trespassers worries hanging over my head. This whole chicken run is covered with the hardware cloth or chicken wire! I, later on, I changed the roof to PVC panels. Plus, I have added this human-sized door too so I can easily enter whenever I have to say clean it or make any other alterations!
Step 2: Set up the perfect ventilation system
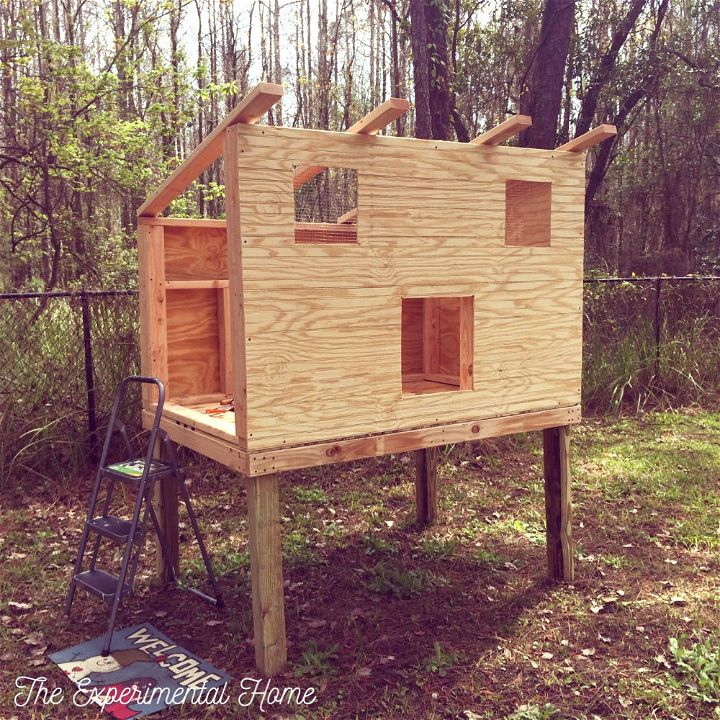
Maintaining enough airflow and ventilation inside the coop is quite important, so I used the hardware cloth and added two vents to the chicken coop. Plus, I also left the windows open. Since we live in Florida, and the summers are quite the harder part, but ladies and gentlemen, my DIY chicken coop comes with this epic cool ventilation system that keeps things cool. Also, given the shade of the pine trees nearby and the cedar shingle roof!
Also, with my clear PVC roof panel, it allows my girls to roam out even in the rain, freely. Plus, you can also spot the cedar shingles on the roof of the chicken coop!
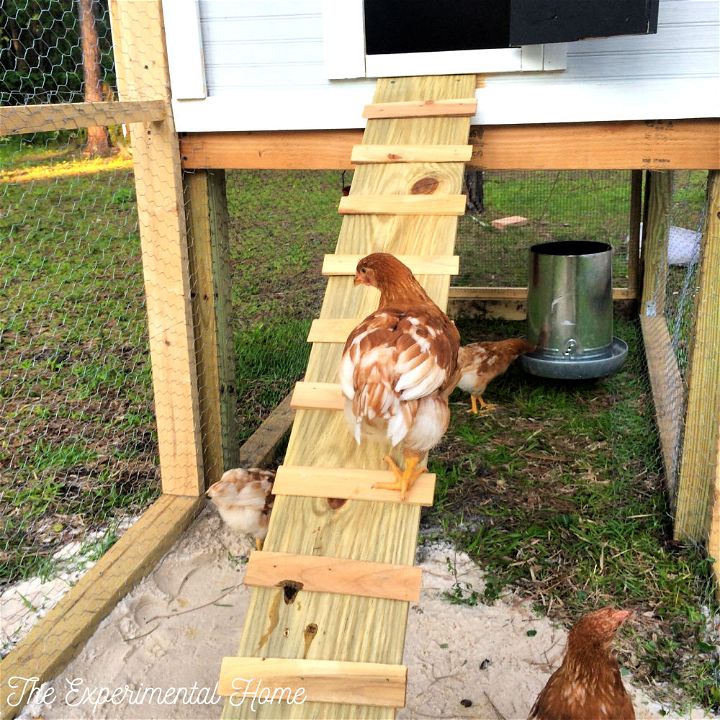
This added cute little ladder is my favorite part! They walk up to it at night for the bedtime right in their chicken coop.
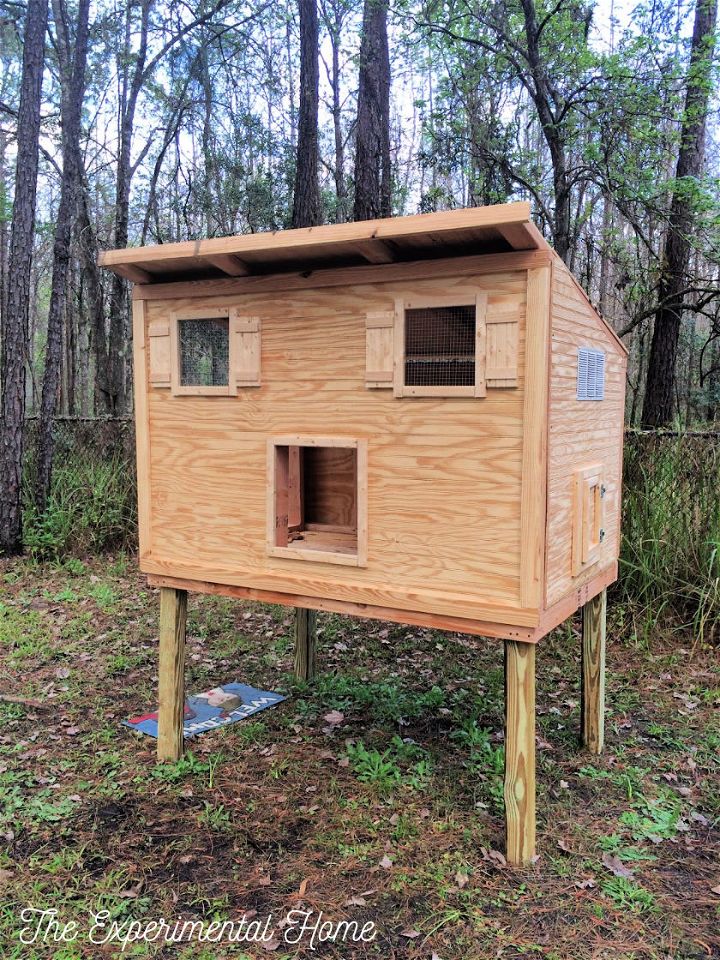
Step 3: Make it easily accessible for feeding
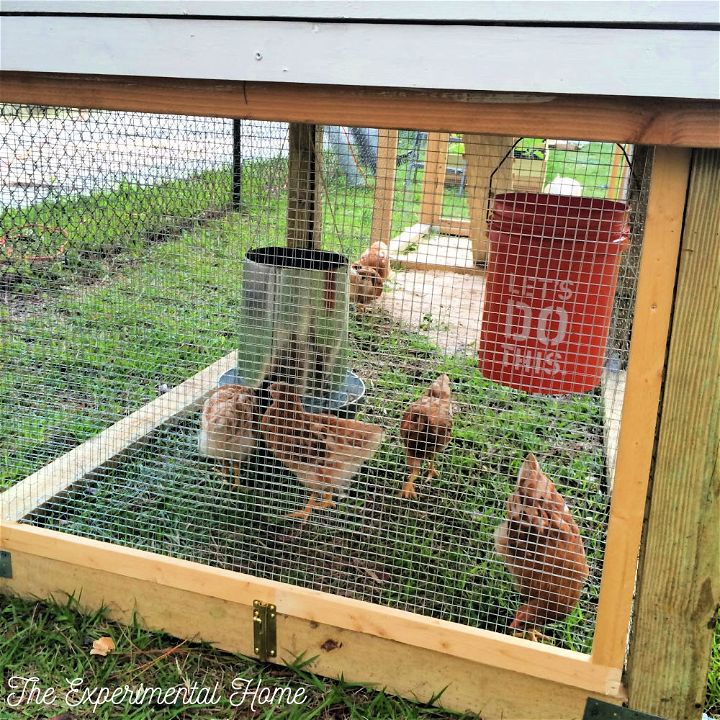
Chicken coop plans have to be quite thorough and well thought! You miss out on a simple detail like adding the food and water, and you have to crawl your way in all the time under the chicken coop to feed your chickens. To remedy that, since I had things all planned and if you remember, I mentioned I started off sketching the whole thing first. Enter this hinged access door on the bottom of the chicken run!
Not just that, I also ended up adding this handy silver bucket feeder and the red Home Depot bucket for the waterer! Keeping the chicken coop clean is a tough task in itself, but when you leave your feathered fellows with ample supply of water to make a complete mess of, that’s on you then! So, I took care of that by adding these nipples underneath the waterer that I ordered from Home Depot to provide my girls the cleanest, hygienic, and freshwater access!
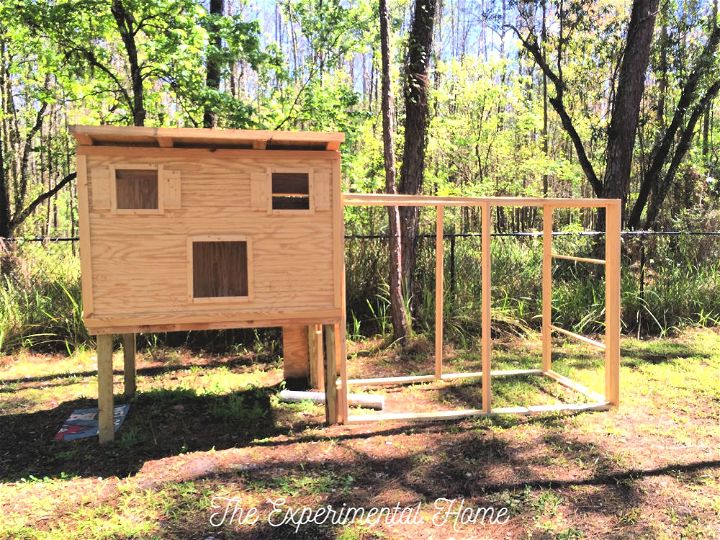
Step 4: Making the nesting box
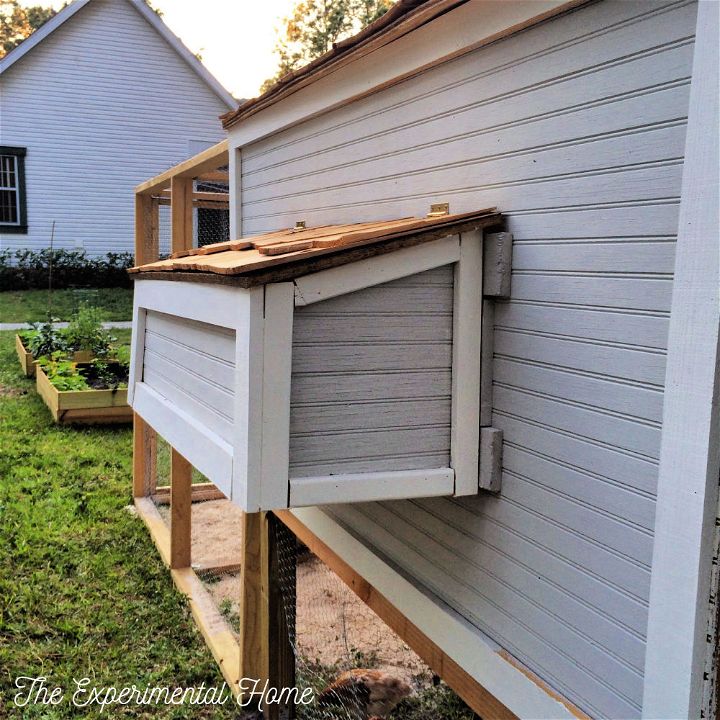
Now, let me take you to the most exciting part of any chicken coop! That is where the part of the collecting eggs comes in. I especially entered this nesting box at the end of the coop, which makes it quite easier for us to collect eggs in the morning. The edge is that we just open it up and put our hands inside, and there are the organic gems lying right in front of us. It saves us all the messy walk across the coop to walk towards the nesting box for getting the eggs!
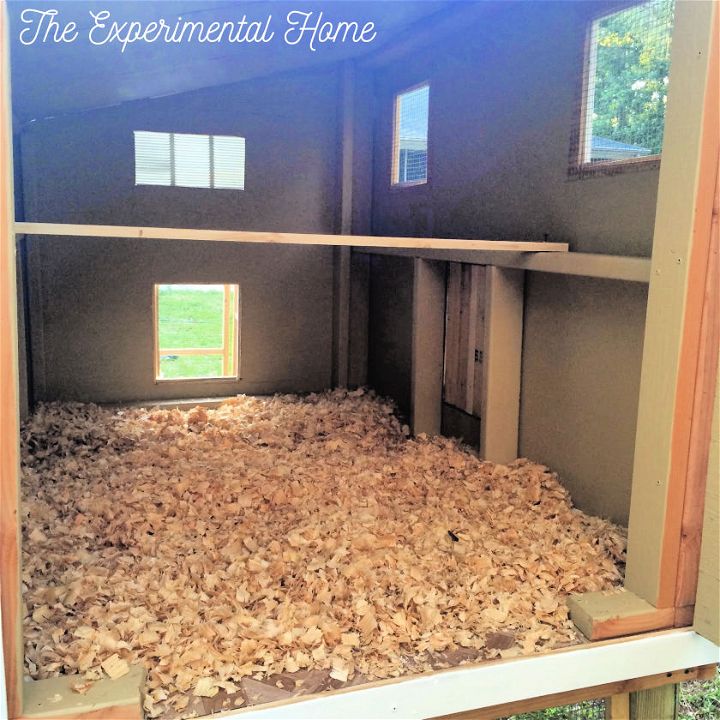
Step 5: Keeping it clean
On the other side of the coop, I added this whole side panel, which works as a door for us to access the coop for easy cleaning. It opens up inside the coop, and I can easily use any large broom to put in there and clean the coop and change the pine shavings!

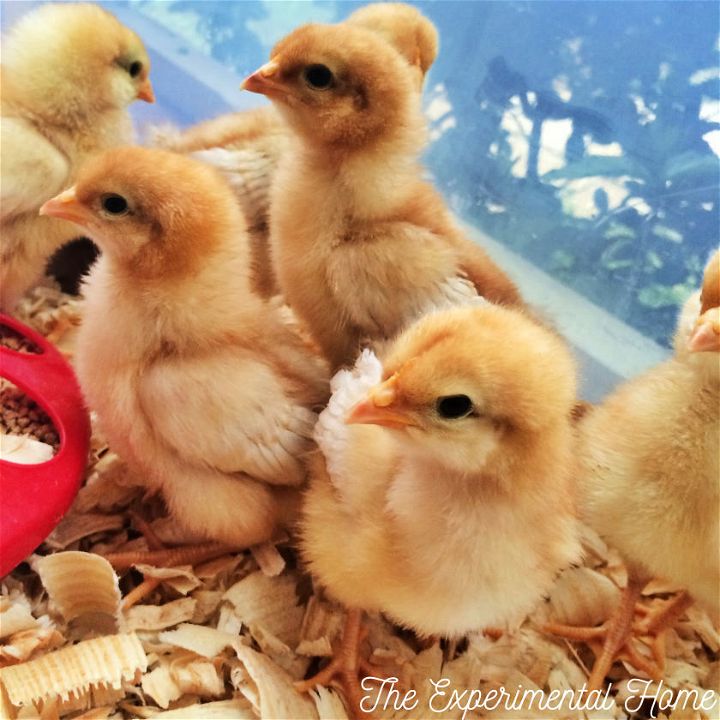
Step 6: Adding the portability wheels’ factor
Oh, and did I mention another best thing about my chicken coop? I added these bolts at the bottom, which can be of great help while moving it as you can add wheels to them and without a lot of effort move around the chicken coop!
Step 6: Choosing the right flooring
As for the flooring of this chicken coop, I used the cheap peel and stick tiles. I also painted coop floor’s inside with the floor paint so I could easily hose down anything if needed! The bar that you can see there is where my girls sleep and roost! So, eventually, we all learned to put strips of cardboard under there, which makes cleaning the coop even easier. It also keeps the pine shavings clean, and we can easily clean it up more easily!
Budget details
It took about $800 to build this chicken coop! You may find a similar one to buy online, but did you see the details of this perfect DIY chicken coop? It is definitely worth all the effort and all the money spent on it! P.s I don’t think I have ever felt more proud of myself for building such a functional and ideal chicken coop.
“Save this chicken coop plan to your Pinterest and try it later”
The quick FAQs you might have!
Every backyard poultry person must have these few questions, let me take you through them too if you have also been wondering about the. Have you been wondering about these;
How to clean your chicken coop?
You can clean your chicken coop by first removing your chickens from the coop then removing everything from the floor, like any shavings, boards, etc., Next, hose everything down by applying your coop cleaner and then putting the new bedding.
Winterize your chicken coop
Did you know that chickens do better in the cold atmosphere than they would in a warmer place! You can winterize your chicken coop by adding more insulation. Keep your coop draft-free. Keep the waterer and feeder outside. Hang towels or blankets over the windows. Straws are the best insulation material in winters, especially for keeping your coop warmer.
How to keep snakes out of the chicken coop?
The first and foremost thing to do is to keep the area around the coop clean and clear! So there is not enough space for the snakes to hide in. Keep the grass around the coop well-trimmed at all times. Preferably, you can choose for a treadle feeder that the chickens can step on and then get the feed. This depends if you are living in an area that poses a higher snakes threat. Especially, first, look for keeping the rodents away from your coop because snakes eat rodents too!
How to keep rats out of the chicken coop?
Now comes the question of how to keep rats out of the chicken coop?
Make sure to use a treadle feed, so your chickens can step on it, and the feed is only open then. Keep the chicken coop clean, clean away any fallen feed at night, especially, so no rats come crawling indie. Carefully secure the feeder and waterer at night. And keep the feed containers far far away from the chicken coop, in a tight container.
Best Paint for DIY Chicken Coop:
Apart from these, there is another question that I have heard quite a lot is what the best paint is for a chicken coop? I did mention above that I painted my chicken coop from the inside. The benefit of painting a chicken coop is that it makes the cleaning part quite easier. Cleaning a painted surface is way easier than cleaning the raw wood surface. So, you can go for semi-gloss or gloss paint for the outdoors. However, make sure to use a low VOC paint inside the chicken coop. Just to be safe! There are also livestock friendly paints that you can use to keep your chickens safely away from toxins if any.
I hope if you have been looking for the right way of how to build a chicken coop with a run, my experience can be really helpful! Especially with that load of photos that I have got for you to give you a closer look! But, of course, you can always customize it or you can find more easy to build and free chicken coop plans on DIY craftsy and build it anyway like you would want to! Just make sure to make changes to your chicken coop plans after first understanding your routine, and how can going for a DIY chicken coop can make things easier for you! Look for those points and then hit it off. Happy cooping, folks!

