Valentine’s day is this beautiful time of the year to express love to your loved ones! While for quite some time, it was only thought to be the day of love for your partners, now the winds have changed! The best part I love about Valentine’s day is the fact that it is this one special designated day to acknowledge, appreciate, and celebrate love! Love for your family, your friends, your kids, and your partners. It is a great way to revisit the depths of your love for any relationship and re-cherish them the same way! For your little ones to celebrate their love with mom or dad, I am sharing this super easy and fun DIY valentine photo card with an envelope tutorial!
This DIY Valentine photo card is quite easy to make, and your little ones can make it like a pro by just using a few supplies and following a few simple steps! The best thing about this valentine’s photo card with an envelope is that it has quite a lot of room available for your little one to decorate inside. And, if your kids a little older, then they can even make this card from scratch! Given the fact that they have developed the strength to use a crafting punch. Let’s get started with gathering the supplies;
Materials:
- Sentence Strip as the envelope or card stock
- Paper trimmer
- Craft punch
- Paper tape, colored tape or scotch tape
- Glue
- A cute family picture
- Ribbon
- Glitter (optional)
- Colored markers (optional)
- Stickers (optional)
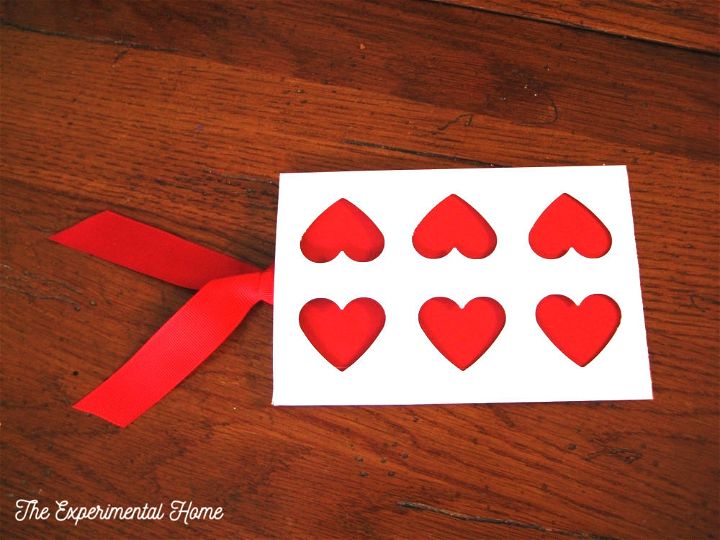
DIY Photo Card Tutorial:
I opted for a sentence strip as the perfect envelope with my required width, but you can also use a card stock and transform it into the envelope. If you are using cardstock, by using the paper trimmer, trim it into the size of your photo card. Then fold it into half to make the envelope.
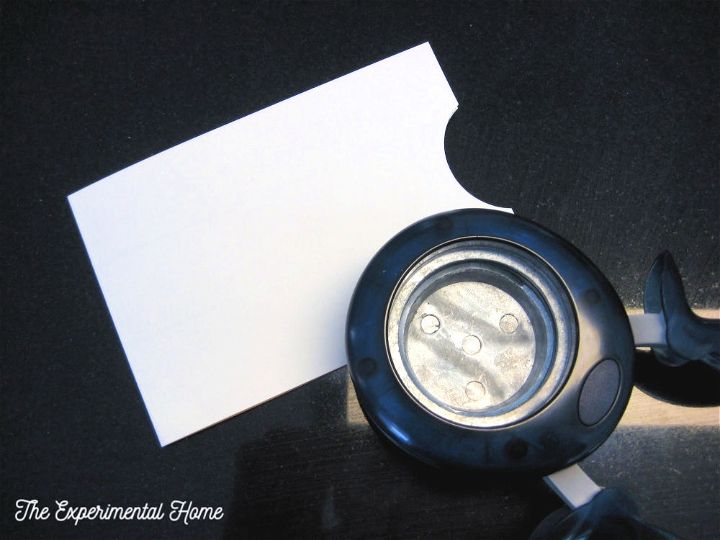
Punch a notch on the top by using the craft punch, here I have used these heart punches to give it a more appealing and darling look! So, yes! You can use a decorative punch too. Give then day of Valentine’s day I chose the heart-shaped craft punch.
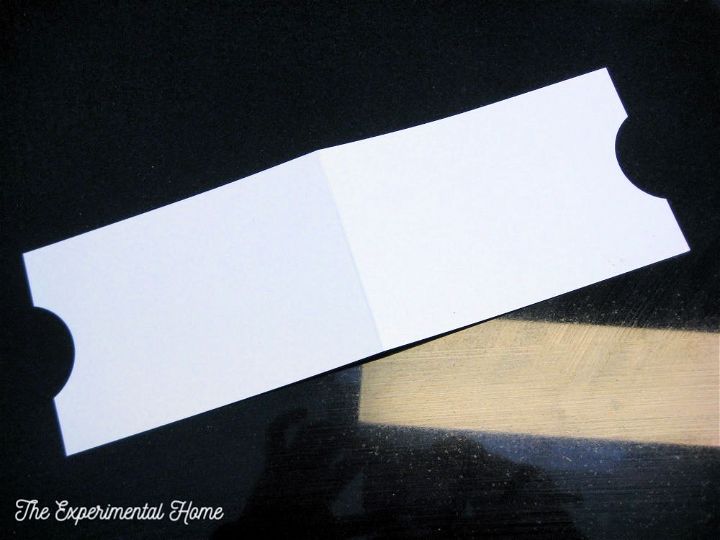
Once you have made one side of the envelope all jazzed up, now by using tape, it is time to bind the sides of the envelope.
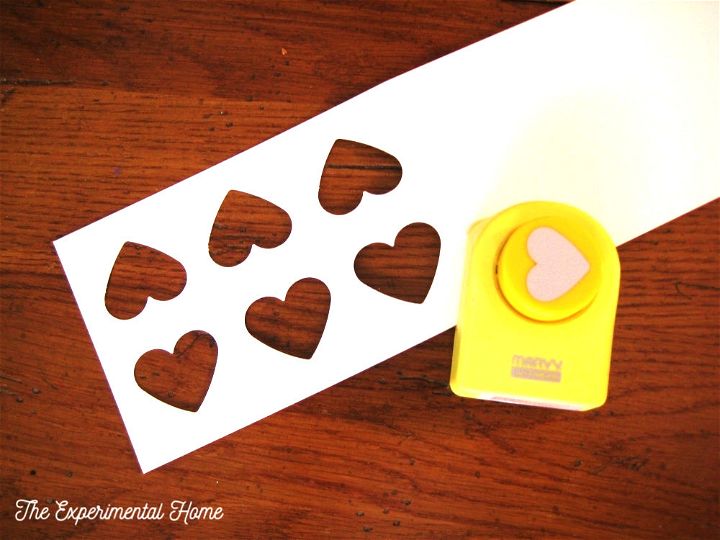
Start taping the two long sides of the envelope and leave one trimmed side open to slide in the photo card. Trim the excess tape using the paper trimmer!

Also, if you want to take things up a notch more, you can use colored tape too. Say red?! However, I have used simple white paper tape here.

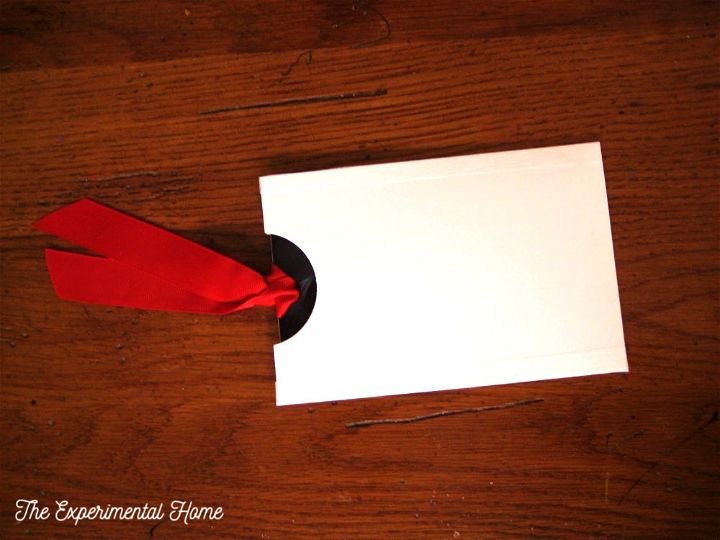
On the open edge of the envelope, punch a hole and add the red ribbon to spice things up! Tie the ribbon a knot to keep it tied inside the punch hole. Now, it is time to slide in the photo card. In case your measurements have gone wrong a bit, you can always trim the sides of the photo card to fit perfectly inside the envelope!

Now, pick up your photo and glue its back with a colored card stock paper and transform it into a photo card from a simple photograph! I have used red card stock paper for the back of the photo, and it will look so pretty when you can spot it from the punched hearts. Some darling synchronized white and red combination!
Like my project? Share it over Pinterest. Thanks
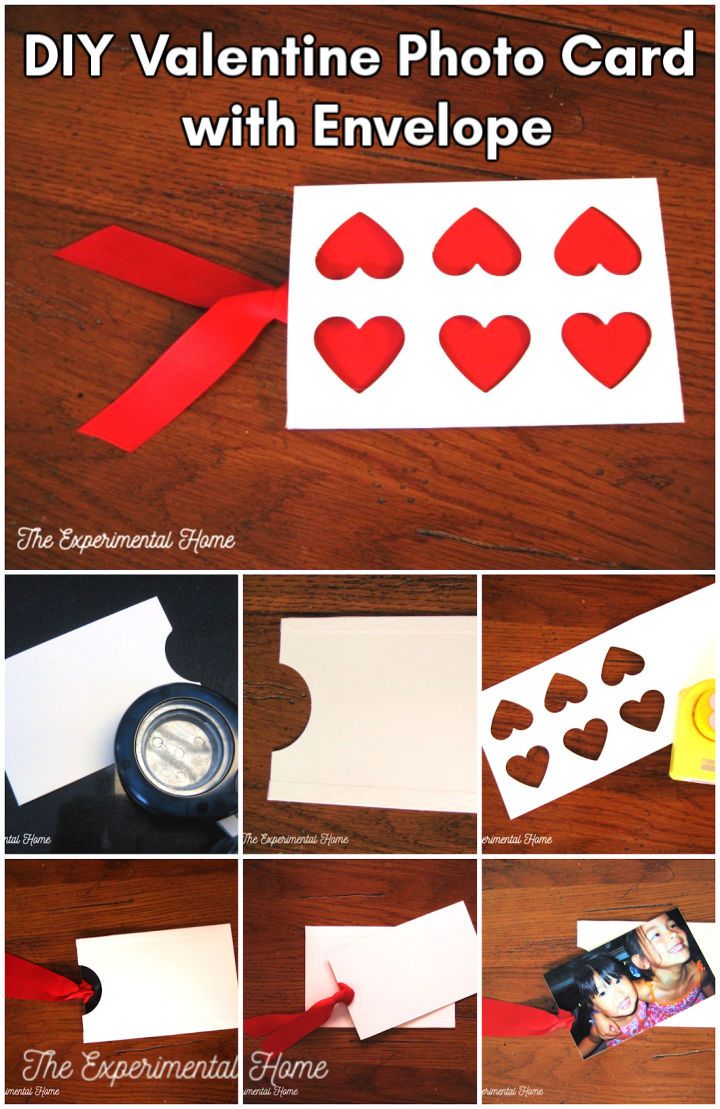
Turn it over, and you can see the beautiful red hearts, right there! I loved the look absolutely. Now, if your little ones have been so eager to add up to this DIY Valentine card, you can hand them over some glitter, stickers, or markers, and they can get as crafty as they would want to. They can either decorate the envelope or the back of the photo card peeking out of the envelope!
I bet this DIY valentine photo card with an envelope can make your loved ones feel quite special! With the added handmade touch and the sensational memory i.e., the photo card sliding out of it! By following these simple steps that I have added in this tutorial, you can easily make this awesome photo card with an envelope for a memorable Valentine’s day!

