If you are anything like me, you would love these DIY no-sew drop cloth curtains. I believe that curtains are the most exciting part of finishing any room’s decor. They add the final touches to any room. In this tutorial, I am going to share with you how can you add a neutral, beautiful and elegant look to your decor with these drop cloth curtains. Sure, curtains are always the perfect idea, but by using the no sew method, you can dramatically bring the most impacting change in your room! And that too by staying on a budget.
If you can think outside the box, you can add some bigtime trendy additions to your windows! And if you are not a fan of cutting, sewing, and all the heavy sewing surgical troubles, I have got just the best remedy for all that! Oh, you are so going to love it. The drop cloths are quite versatile, and the texture and thickness of the fabric are just perfect, too! With only a few supplies and some hard work, you can totally nail this! The drop cloth curtains are on the new rise among decor bloggers because everybody was doing it, so I needed to do it too!
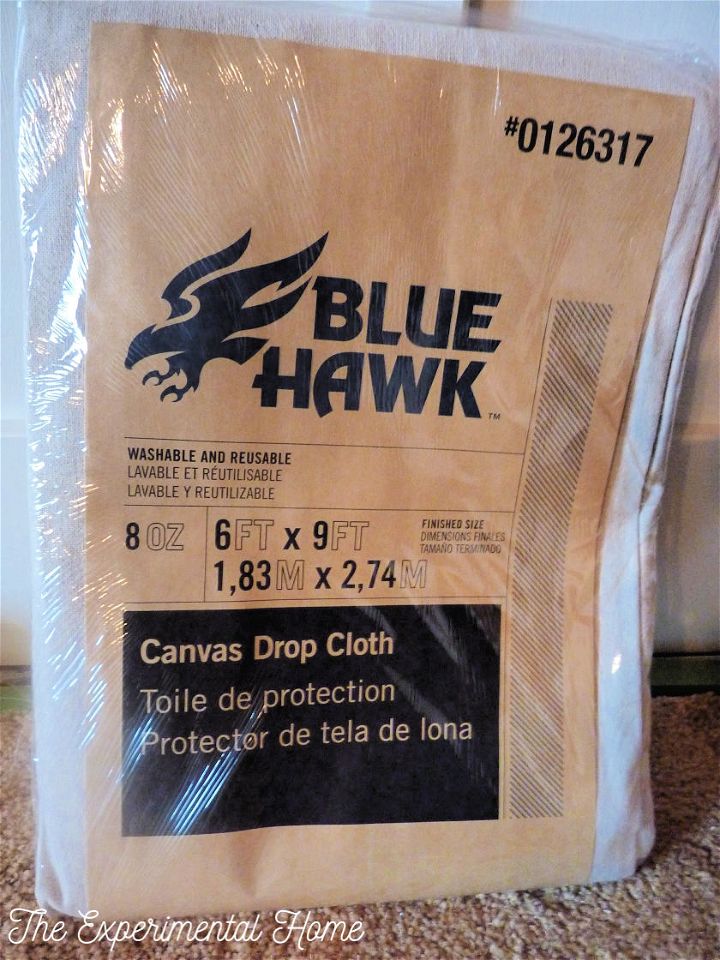
So, I hopped on the drop cloth curtains train and started by buying these “Blue Hawk” paint drop cloths from Lowe’s, each cost us about $10. You can find them in many sizes, but I chose to go with the 6′ by 9′ ones.

Here is the list of supplies you will need for these DIY drop cloth curtains:
- Blue Hawk – Paint drop cloth or any other drop cloth material
- Scissors
- Tape measure
- Iron
- Fabric softener
- Curtain rod clips
- Curtain rods
- Hanging clips
Step 1: Softening and ironing
Before moving further, let me share with your one major downfall of drop cloth curtains. And that is they are darn stiff and pretty scratchy right when you take them out of the package. So, the trick is to wash your curtain with fabric softener first and then work with them further. If, like me, you are also not fond of the wrinkly look, now comes the real tougher part. And that is ironing them, it might burn your fingers six to seven times, but then you can get used to it! Like I did.
Step 2: Measurement
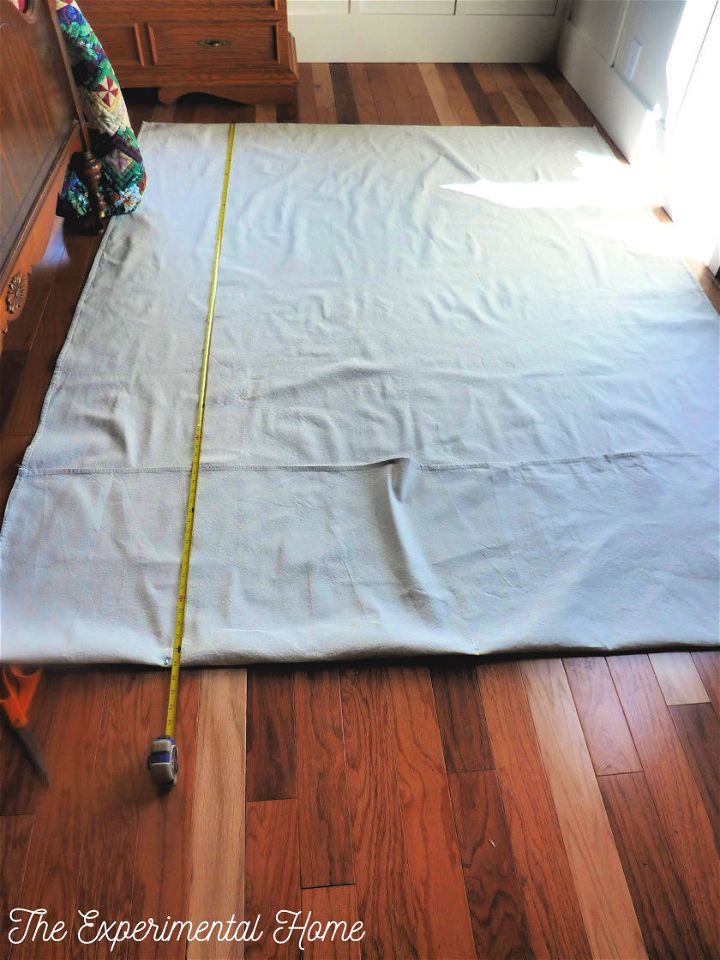
Now comes the fun part of deciding where to hang them! I had already got the DIY curtain rods ready, so now it was just a matter of measuring it and then attaching the clippers to the curtains. Here is the best part that includes hanging these beauties up without having to turn or sew anything. Like I told you before, the curtains were 9′ tall, and definitely, my windows were not. So, what might have got me into trouble of cutting, folding, or sewing the parts I came up with this super no-sew technique. I just measured them and folded them, from the bottom and the top.
Step 3: Attaching curtain clips
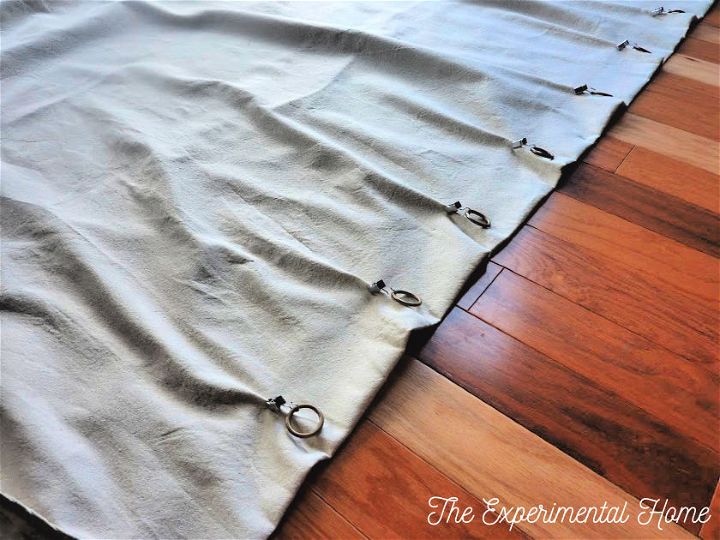
Next came the process of attaching the curtain clips. I wanted our curtains to look super fancier, so my trick lay in clipping the top of curtains with the faux pinch pleat. This way, the rings were not visible, and the curtains looked quite fancy too! Win-win, right?! If you are good at using the tape measure, you can use it for maintaining the exact distance in between, but I failed at that quite miserable, hence I was relying on my eyes pretty much! And I eyed the distance to place these clips.
Step 4: Creating the faux pleat look
Let’s walk through how can you create a faux pinch pleat look. Since I didn’t want the curtain rings to peak out of the top, so I affixed these clips 2.5″ below the top of the curtain. Take a little pinch of the fabric like 2 layers, then clip the prongs on at an angle. You can also call in help so someone can hold the pinch while you put the clips on, or you can hold the pleats and then put on the clips!
Step 5: Hanging them over
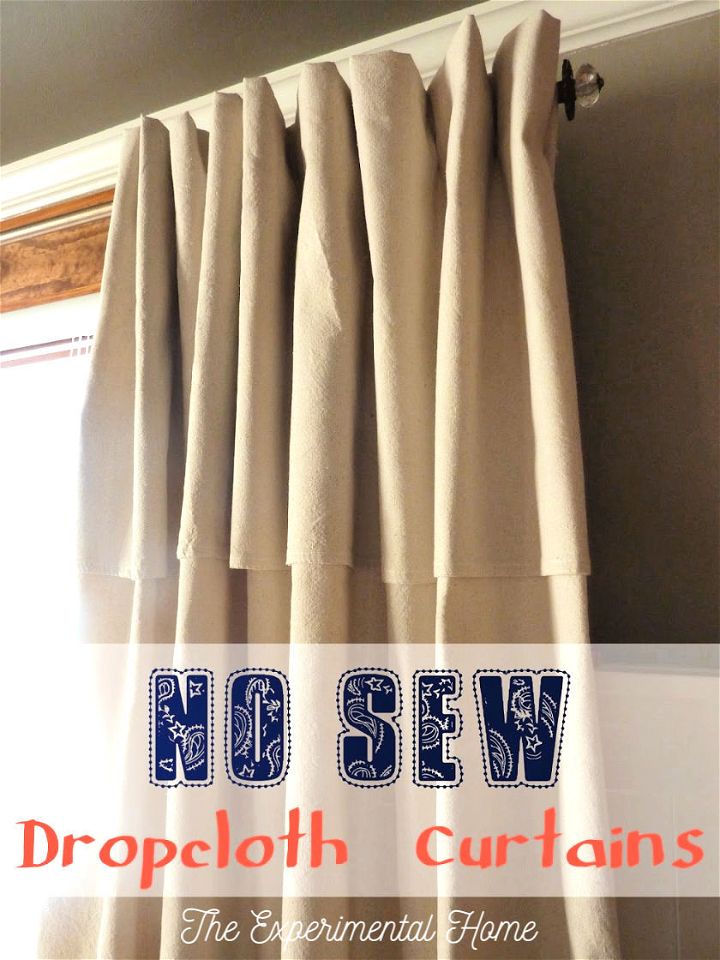
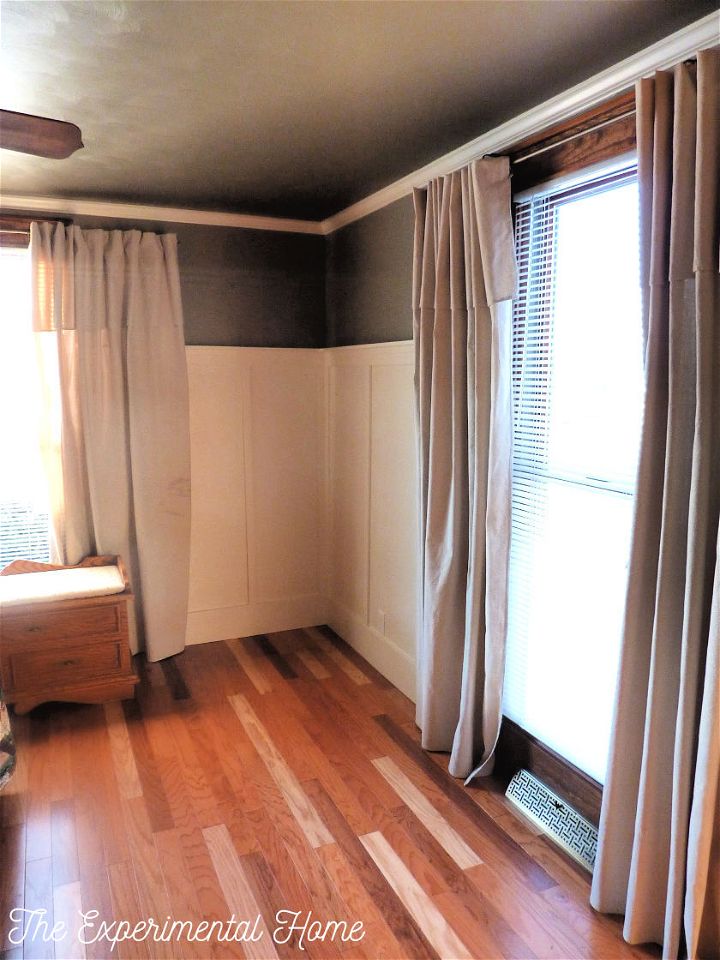
Guess what? That’s pretty much it. Now, just hang them over and put the rods inside the rings, and you are all set to hang them over. Fluff them up, and you are all good to eat the fruits of your labor. The key or should I say the trick to hanging the curtains is to hang them up as high as possible. Like you can keep the window rods above the windows, just a little below the ceiling. This makes the windows look quite huge and bring quite a charming and brightening character to the whole room. SO, the trick is to hang the curtains higher and wider.
Now, I get that using painter’s drop cloths as curtains is quite unorthodox, but I especially love them for their supernatural color. The nice and thick texture and I love how the fabric is a thick linen texture. They can let in a little light, though, but I find that quite the right weight for curtains! So, in my case, it was worth it effort, especially ironing the entire cloth. Which did ache me, pretty much? But these drop cloth curtains totally transformed the room, so it was all worth it!
You may like my other DIY tutorial for your next project:

