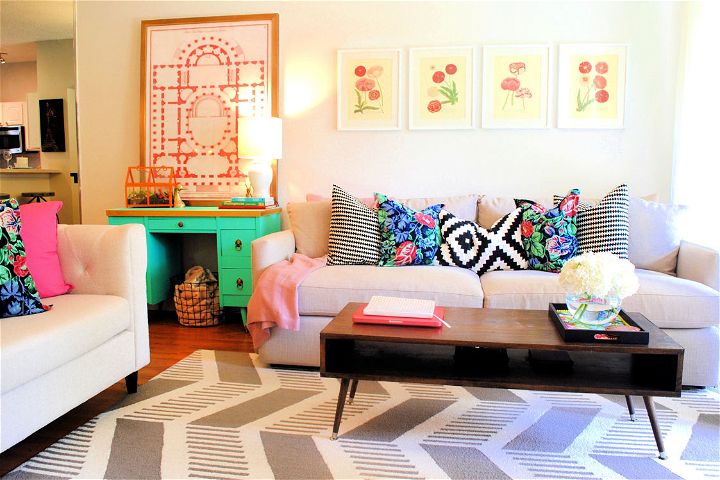
Are you looking for ways to transform your space without going too much overboard or making big holes in your pocket? What’s better than introducing a mid-century vibe to your living room. I came across this pretty DIY mid-century modern coffee table tutorial to revamp my living room! This design is quite sleek in the look, and it could be a perfect minimalistic addition to your living room! The design is simple, and even has a lot of space to offer in the double shelves. I love how, along with bringing the mid-century vibes, this modern coffee table has also been a great fellow for managing my stuff perfectly!
I have been looking around for the possible ways to transform our living room, and then I came across this DIY mid-century modern coffee table idea! The design seemed pretty classy and elegant, while the process is also pretty simple, just a few steps, and it’s all done! I started off by gathering the materials, which, by the way, did only cost me under $100. Well, to be precise just $94. Not a bad deal, right? Let me walk you through the entire process to make a mid-century modern coffee table, but first, let’s start by gathering the materials.
Materials:
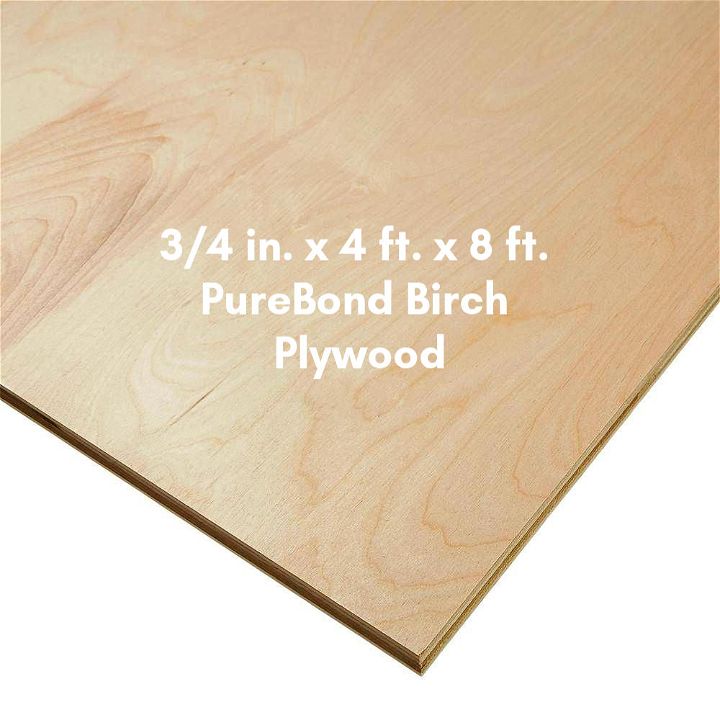
- Birch plywood – ¾” thick and 4′ x 8.’
- Birch edge tape
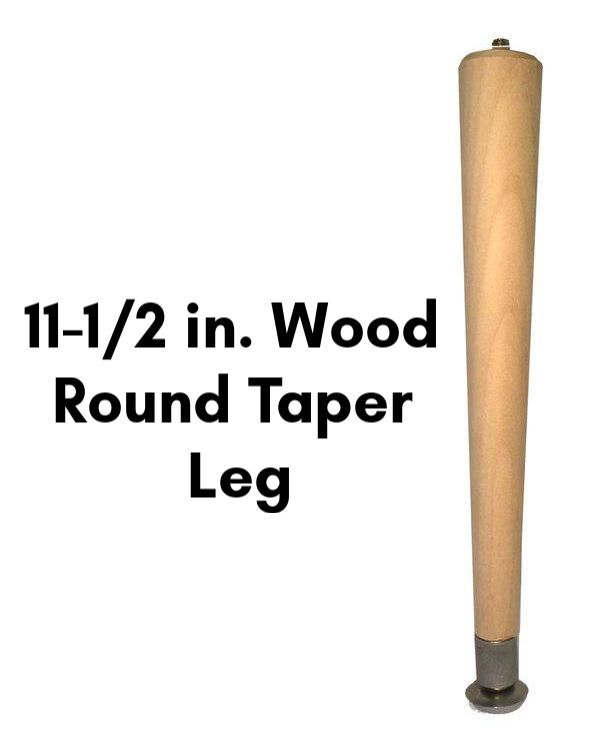
- Rounder taper table legs – 4
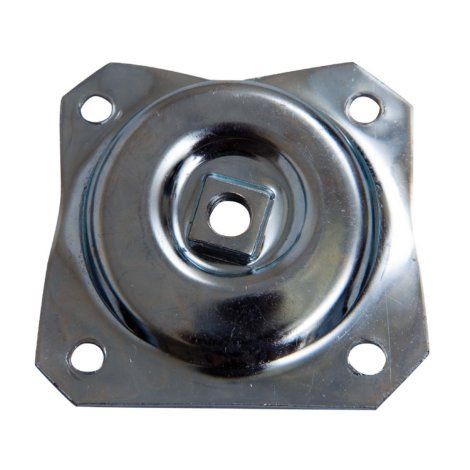
- Angle top plates – 4
- Screws
- Dark walnut stain
- Satin polyurethane
- Veneer tape
- Utility knife
Like I said, and I just can’t stop emphasizing enough that these materials cost me approximately $94. And I got such a classy coffee table out of it!
Tools:
If you are not opting for Home Depot, cut them for you, use a circular saw or table saw
- Miter or hand saw
- Sander and sandpaper
- Drill and drill bits
- Mini Kreg jig
- Screwdriver
- Clamps – in case if you are working alone
- Iron
- Pliers
- Paintbrush
Cutting list:
- Birch plywood – 2 in 47″ x 20.”
- Birch plywood – 2 in 5″ x 20.”
- Table legs – 10.5” tall

Process:
I had Home Depot cut the plywood for me, so I just trimmed the wood and legs. If you prefer the cuttings by yourself, start by making all the cuts. Starting with the table legs, trim them by removing the hanger bolt first. I did that by measuring and marking the legs up to 10.5” tall. I used a miter saw for cutting the table legs, you can also use a hand saw. Once I was done making the cuts, I used a drill to make drill holes on the top of these table legs. Then I re-inserted the hanger bolts! You can do that by using a drill bit, which should be preferably smaller than the bolt itself, now re-twist the bolt in with pliers.
Next, you will need a sander to smooth up everything! Sand the wood to make it as smooth as it could get. Make sure that you do not just let this part go without sanding with all your heart, as I am sure you wouldn’t want a rough coffee table. I nailed the sanding part by using my palm sander, I started off with 80 grit and moved on to 180 grit.
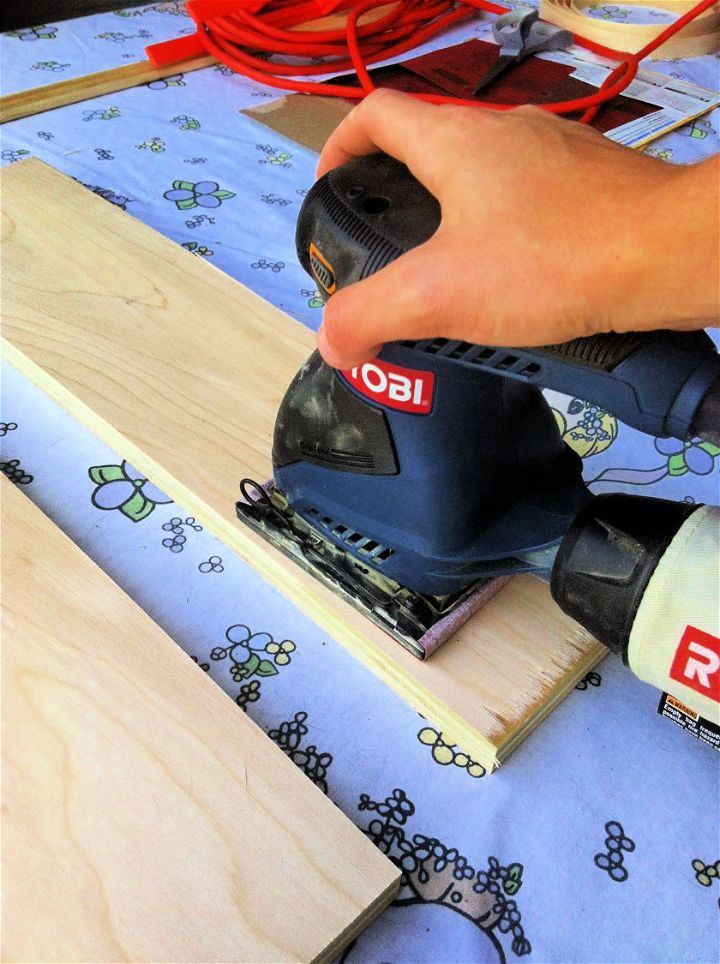
Once you feel that you have done the sanding all right and perfect, now we have come to the part where assembling the table comes!

Next:
Since I was working alone, I used a lot of clamps to hold the table pieces together until I successfully secured them in the right place. Oh, and did I mention how much I loved buying my Mini Kreg jig, especially for this project, and I loved working with it! It is such a sweet little tool with great uses to be added to your toolbox.
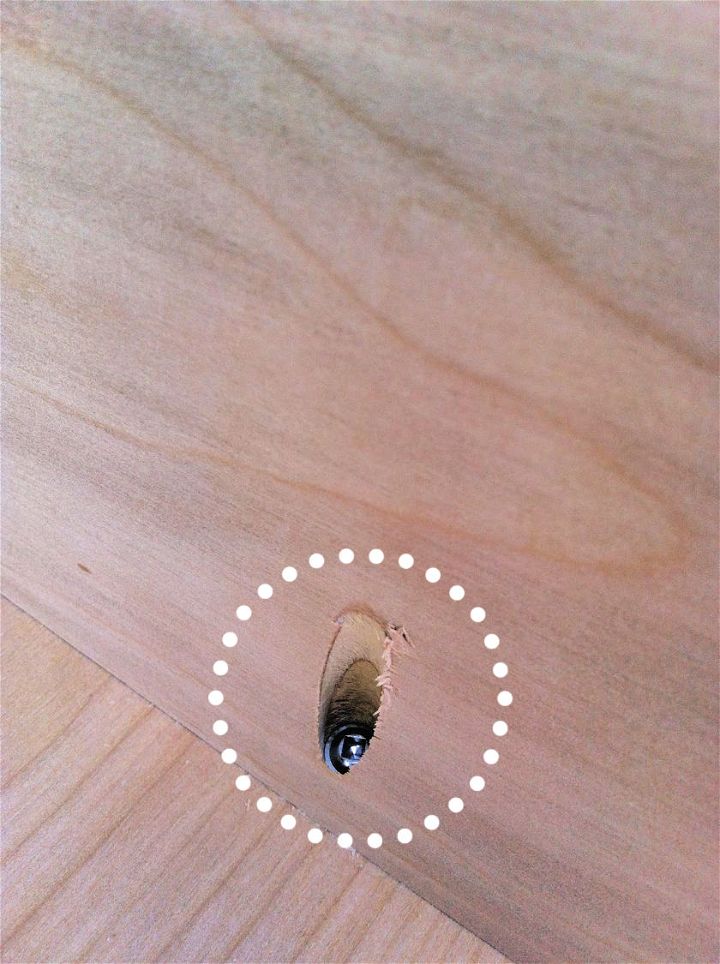
Remember all the pocket holes I have been talking to you about, you can easily drill them by using the Mini Kreg Jig! Pocket holes are the essence of any woodworking project because they hold these magical abilities to hold the wood pieces together by hiding the screws!
If, like me, and I am sure you must be, looking for a professional look to finish your DIY coffee table, you must make sure to go for the Kreg jig to drill the pocket holes.

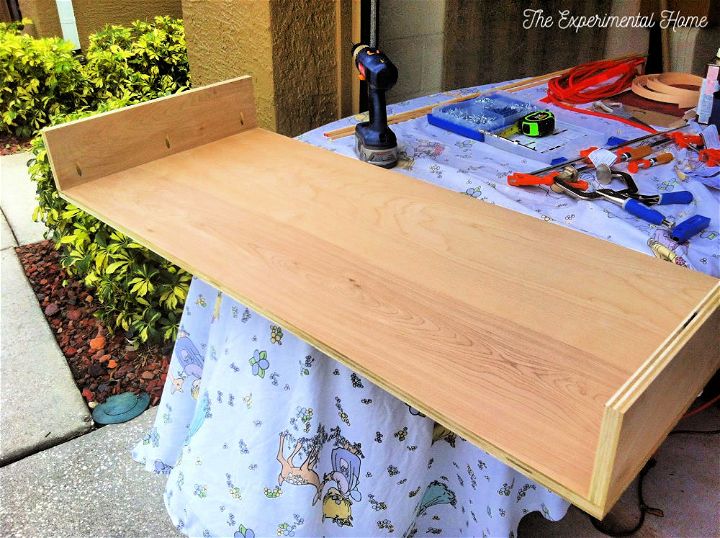
I started off making these pocket holes on each side of the table. This was so I can easily attach it to the tabletop. After that, I repeated making these pocket holes to attach the side pieces with the bottom table. Because I was working in quite a limited space between the tabletop and table bottom, I had to use a pretty shot screwdriver, so my hand could fit in the opening between them.

After you have attached the sides together, it is going to look something like this. If yours also look like this, congratulations, you have done the most part! *thumbs up*.
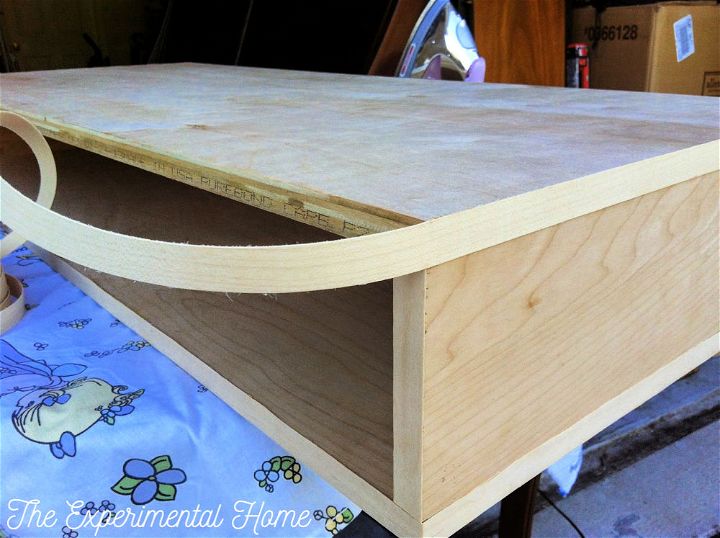
Now, don’t lose your heart to see the exposed edges of the plywood, enter the Veneer tape! You can find this veneer tape in the form of a roll, and it has already an added on adhesive. This adhesive can be activated using heat, and you can attach it to your edging of the plywood by using the iron. Trim the extra edging by using a utility knife.
One pro-tip which I also used in my project was not to attach table legs before staining the whole thing. Since most of my table was built now, I started staining it. After staining it, I let it rest so it can dry perfectly well. Next, I added the coat of satin poly!

Now comes the part to attach the legs to the table. The angle top plates were a big rescue for that! They made connecting the legs super easier. Phew! Let me tell you how! All you need to do is start measuring out from each corner at the bottom of the table to make sure that the plates are all even.
After that, I played around the placement of the angle plates and finally landed them 2” inches away from the corners. After all the plates are attached, now attaching the legs is quite simple and fun! Just twist in each table leg, and you are good to go.

Also, because I wanted to add angled table legs, so I used the angled top plates. However, if you wish to straight legs, you can use straight top plates.
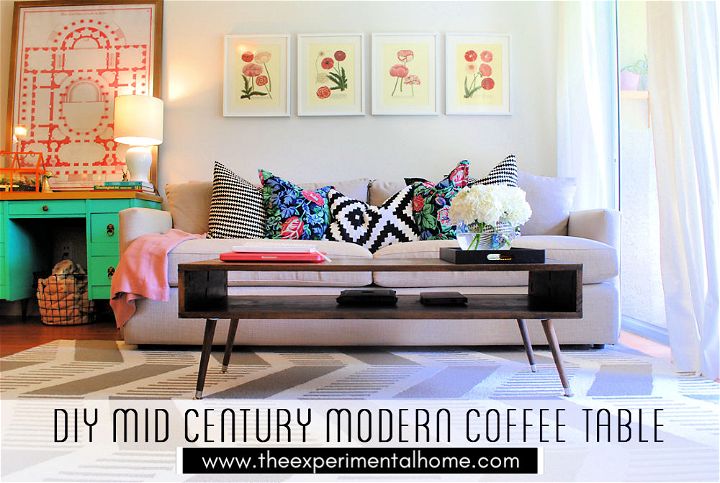
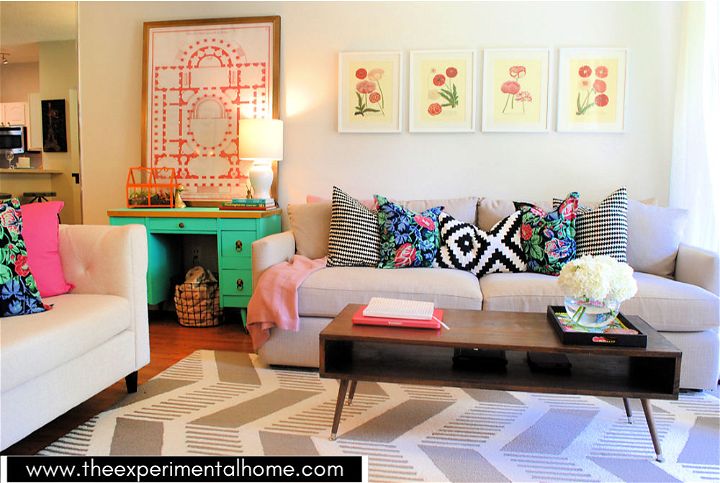
If you like this coffee table then you can save this post to your Pinterest and try it later.
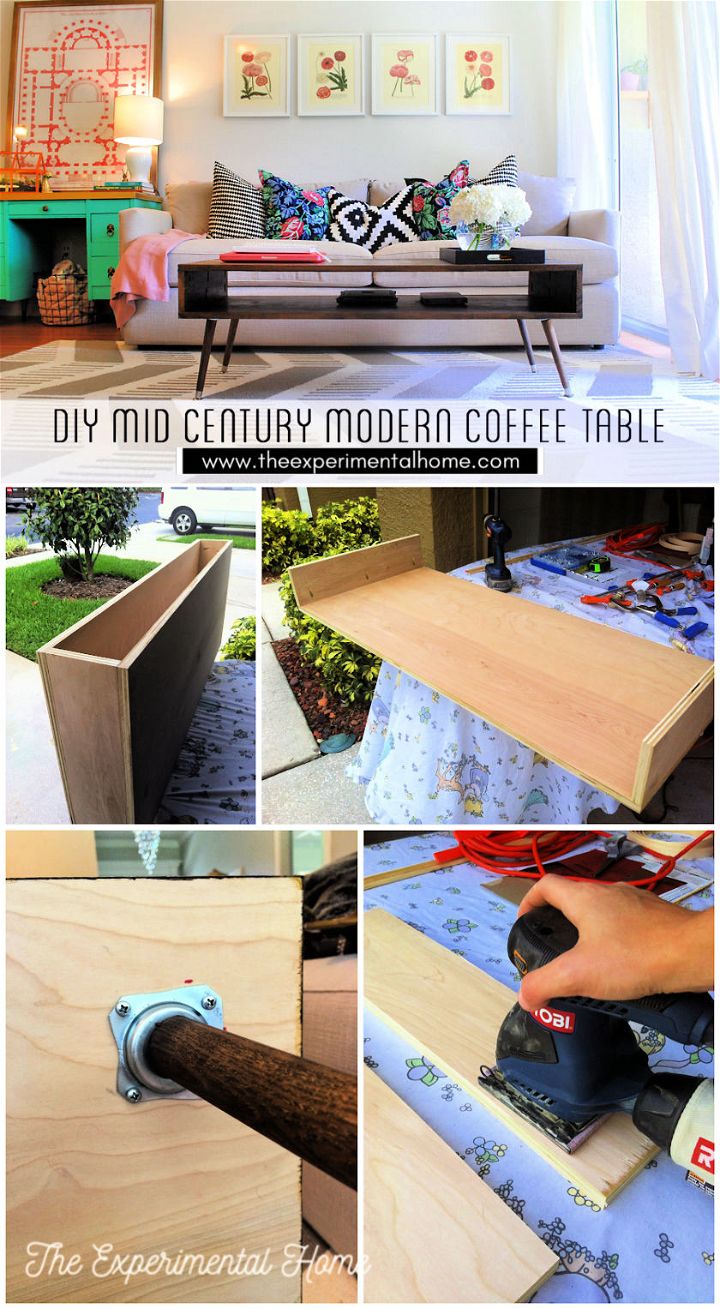
Making this mid-century coffee table was quite a charming project, and I ended up bringing some darling vintage character to my living room! I love how it has transformed the whole place, and I didn’t even have to make a lot of changes around! Plus, so many less or almost no holes in the pocket, yeah? I hope all the details that I have shared can help you nailing this modern diy coffee table and add a sleek and minimalistic vibe around your place.
If you are anything like me, I can bet you must have been craving the mid-century vibes that have made quite a comeback in our lives now. The beauty is how a simple piece of DIY furniture can add so much personality and character to your house!
More DIY projects you may love for next weekend:

